Complete Sod Installation Guide: DIY Steps & Expert Tips
Have you ever wondered how some properties go from a construction site to a perfect, green lawn overnight? The secret is sod. Think of it as a ready-made lawn, professionally grown and delivered to your doorstep in convenient rolls. It’s the fastest way to establish a dense, beautiful yard without the long wait and uncertainty of seeding. While the result is immediate, a successful sod installation depends on a series of crucial steps. From clearing the old turf to creating the perfect watering schedule, getting the details right is what makes all the difference. Here, we’ll break down the entire process for you.

Key Takeaways
- A Healthy Lawn Starts with Healthy Soil: The most important work happens before the sod arrives. A successful installation depends on creating a strong foundation by clearing old grass, tilling the compacted ground, and adding nutrient-rich compost to help new roots establish quickly.
- Install Smart and Water Immediately: Lay sod pieces in a staggered, brick-like pattern to ensure the seams knit together invisibly. Once everything is in place, use a lawn roller to press the roots into the soil, and then give your new lawn a deep, thorough soaking within 30 minutes.
- The First Month Requires Patience and Care: Protect your investment by staying off the new grass for at least three to four weeks. Stick to a consistent watering schedule to keep the roots moist, and wait until the sod is firmly anchored before attempting the first mow on your mower’s highest setting.
What is Sod and Is It Right for Your Lawn?
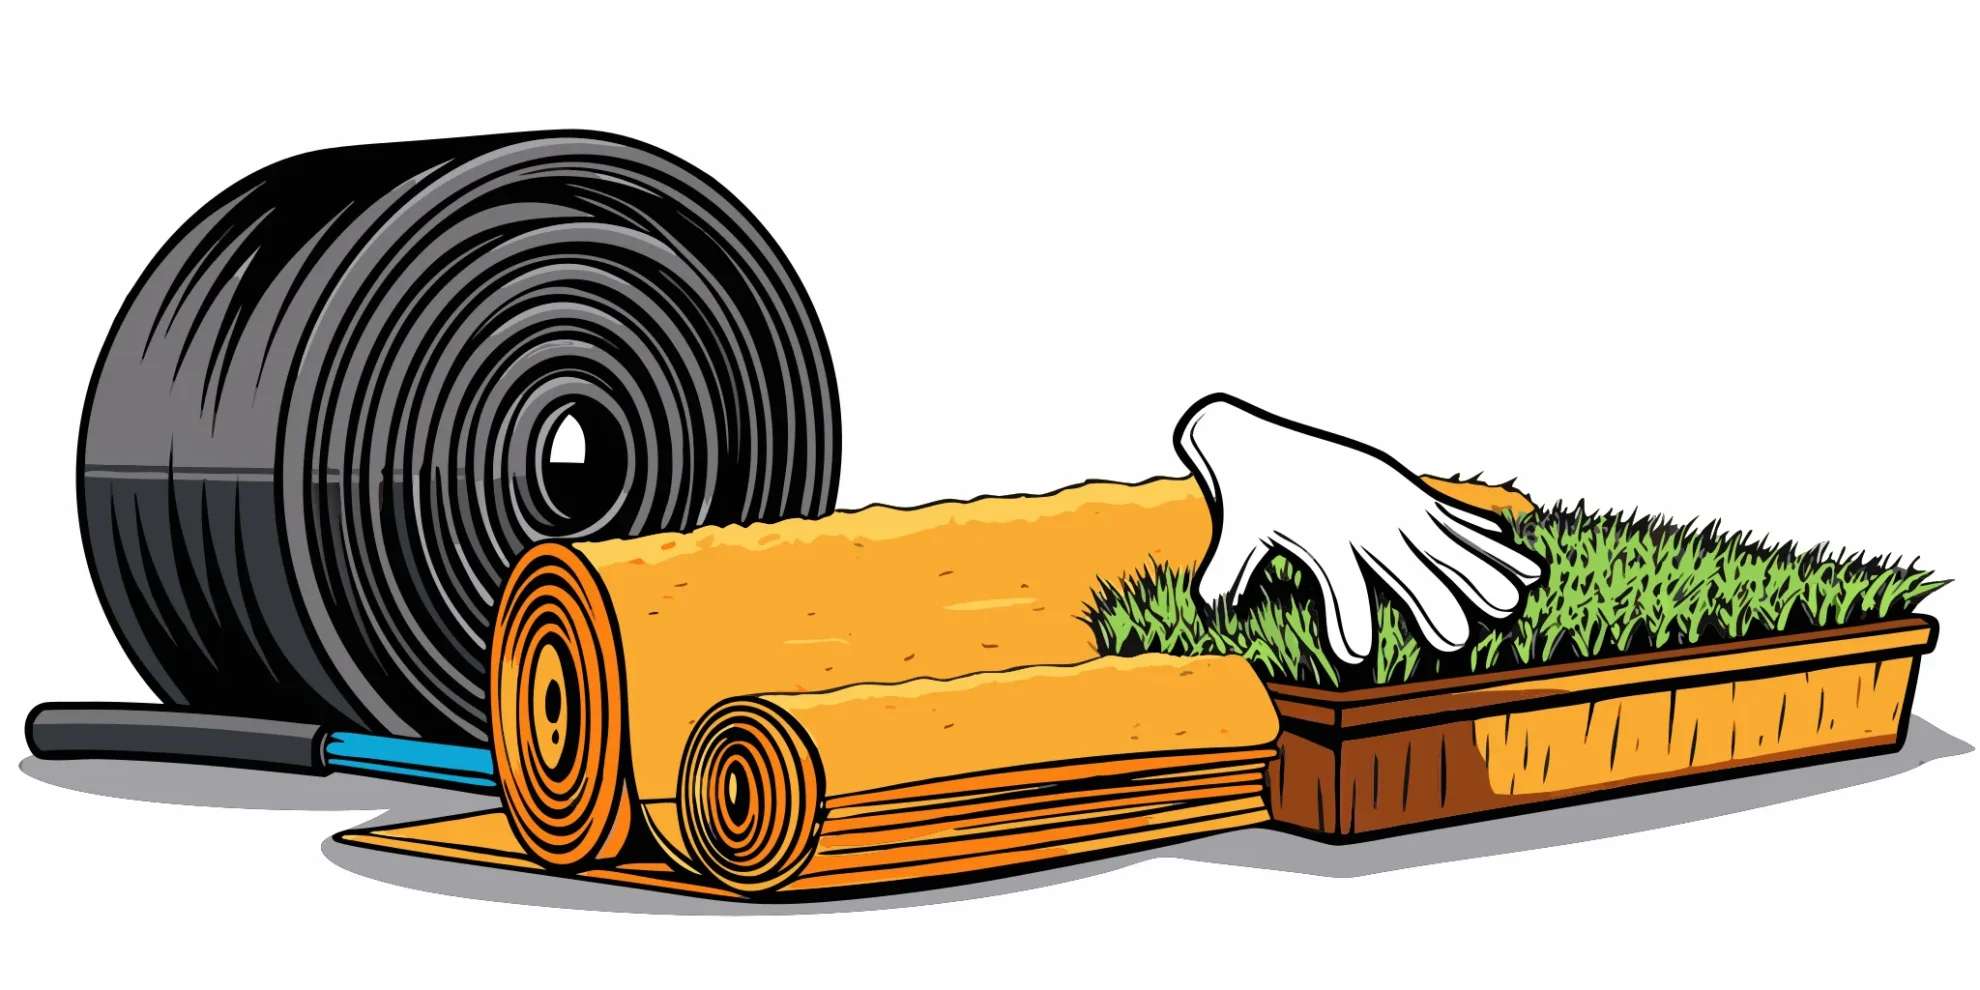
Ever wondered how some lawns look lush and perfect almost overnight? The secret is often sod. Think of sod as a ready-made lawn that’s been professionally grown, harvested, and delivered to your property in convenient rolls. Each roll is a carpet of mature grass, complete with its root system and a thin layer of soil. It’s the fastest way to establish a beautiful, dense lawn, whether you’re starting from scratch on a new property or renovating a yard that’s seen better days.
Choosing to lay sod is a fantastic solution for homeowners who want immediate results without the long, uncertain process of growing grass from seed. It’s especially effective for preventing soil erosion on slopes and provides a clean, usable surface right away. While the initial cost is higher than seeding, the value comes from the instant gratification and reduced risk of failure. A professional sod installation ensures your new lawn gets the best possible start, giving you a green, healthy yard you can enjoy for years to come.
The Perks of an Instant Lawn
The biggest draw for sod is, without a doubt, the immediate transformation. It’s like rolling out new carpet for your yard. One day you have bare dirt, and the next you have a green, vibrant lawn. While the roots need a couple of weeks to fully establish themselves in the soil below, the visual impact is instantaneous. This speed also provides practical benefits. A mature layer of sod is excellent at suppressing weeds from the start, unlike a newly seeded lawn which can be quickly overrun. It also helps control mud and dust, making your outdoor space clean and usable much sooner.
Sod vs. Seed: Which One Wins?
Deciding between sod and seed really comes down to your priorities: time, budget, and effort. Sod gives you that finished look right away and is generally more forgiving during its initial establishment period. You’re working with mature grass, so there’s less risk of patchy growth or failure. Seed, on the other hand, is significantly less expensive upfront but requires a lot more patience and hands-on care. You’ll need to keep the ground consistently moist for weeks, fend off weeds, and wait months for the lawn to fully mature. If you want fast, reliable results, sod is your answer. If budget is the primary concern and you have a flexible timeline, seeding can be a viable option.
Best Sod Varieties for Central Florida
Not all grass is created equal, especially in our unique Central Florida climate. Choosing the right type of sod is critical for long-term success and depends on factors like sun exposure, foot traffic, and how much upkeep you’re willing to do. St. Augustine is a very popular choice, known for its broad blades and good shade tolerance. Zoysia grass is another favorite, creating a dense, fine-textured lawn that feels great underfoot and stands up well to activity. For a lower-maintenance option, Bahia is incredibly drought-tolerant and thrives in full sun. Understanding the different turfgrass varieties will help you select the perfect green foundation for your property.
How to Prep Your Yard for New Sod
Laying sod is exciting because it gives you an instant lawn, but the real secret to lush, healthy grass lies in the prep work you do before the first piece is ever unrolled. Think of it as building a strong foundation. A well-prepared yard gives the new roots a welcoming place to settle in, helping your lawn establish itself quickly and thrive for years to come. Taking the time to get the ground ready prevents common issues like poor drainage, uneven growth, and weak roots. These next steps are the most important part of the entire process, so let’s walk through exactly what you need to do to create the perfect canvas for your new lawn.
Test and Improve Your Soil
Healthy grass starts with healthy soil. Before you do anything else, it’s a great idea to test your soil to understand its pH and nutrient levels. You can get a simple DIY kit from a garden center or send a sample to the University of Florida’s extension office for a more detailed analysis. The results will tell you exactly what your soil is missing. For most Florida lawns, adding a few inches of quality compost or other organic matter is a game-changer. This enriches the soil, improves drainage in our sandy ground, and gives the new sod roots the nutrients they need to grow deep and strong from day one.
Clear and Level the Ground
Next, you need to clear the area of any old grass, weeds, rocks, or debris. For removing an old lawn, renting a sod cutter is the most effective method. Once the ground is clear, use a rototiller to loosen the soil to a depth of about six to eight inches. This breaks up compacted earth and allows the new roots to penetrate easily. After tilling, rake the area to create a smooth, level surface. You’ll want the final grade to be about one inch below any sidewalks or driveways so the new sod will sit flush once installed. For larger properties or tricky slopes, professional land clearing can save you a ton of time and effort.
Gather Your Tools and Materials
Having all your tools ready before the sod arrives makes installation day go much more smoothly. You don’t want to be running to the store mid-project. Most of the heavy-duty equipment, like a sod cutter and a rototiller, can be rented from a local hardware store. You’ll also need a few hand tools: a sturdy landscape rake for leveling, a wheelbarrow for moving soil amendments and sod rolls, and a sharp utility knife for trimming sod pieces to fit around curves and edges. Don’t forget work gloves to protect your hands and a garden hose with a sprinkler attachment for that crucial first watering. Getting everything organized ahead of time sets you up for a successful and stress-free installation.
How to Install Sod: A Step-by-Step Guide
Once your yard is prepped and ready, it’s time for the exciting part: laying the sod. This process transforms your property in a matter of hours, but it requires careful attention to detail to ensure the grass takes root and thrives. Following these steps will help you achieve that lush, green carpet you’ve been dreaming of. If you’re working with a large area or just want to guarantee a perfect result, our professional sod installation team is always ready to handle the heavy lifting for you.
Remove the Old Lawn
Before you can lay down new sod, you have to say goodbye to the old grass. The best way to do this is with a sod cutter, which you can rent from most home improvement stores. This tool slices under the grass and removes it in rolls, along with about an inch of soil. Your goal is to create a completely clear surface that sits slightly lower than any surrounding sidewalks or driveways. This ensures your new lawn will be flush with these edges. For larger properties or stubborn turf, our land clearing services can efficiently remove the old lawn and prepare the site for a fresh start.
Finalize Your Soil Surface
With the old grass gone, you can now perfect the soil surface. Grab a sturdy garden rake and get to work leveling the area. Break up any large clumps of dirt and remove any rocks, roots, or other debris you find. The soil should be loose and crumbly, not compacted and hard. This is crucial because it allows the new sod’s roots to easily penetrate the ground and establish themselves. A smooth, well-prepared surface is the foundation of a healthy lawn and helps prevent future issues with unevenness or poor drainage.
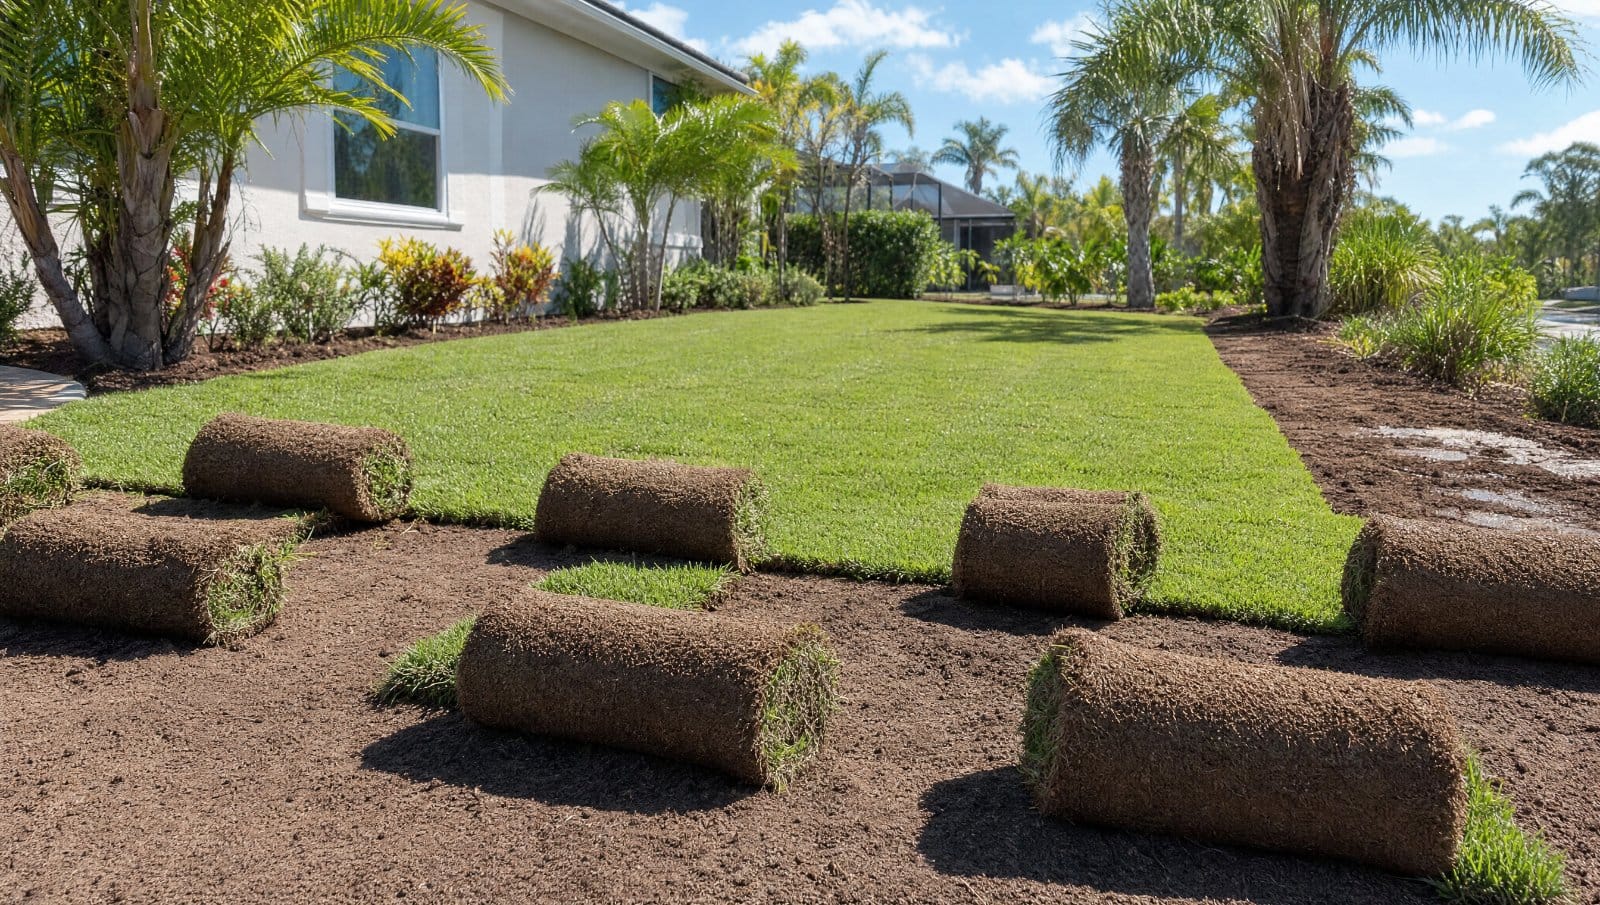
Lay Sod in a Staggered Pattern
Now it’s time to start laying your sod. Think of it like laying bricks—you want to stagger the seams. Start by laying your first row of sod along a straight edge, like a driveway. For the second row, cut the first piece in half and start with that. This offset pattern helps the seams knit together more effectively and prevents visible lines from forming in your lawn. Make sure the edges of the sod pieces are snug against each other but not overlapping. You don’t want any gaps where weeds can pop through.
Cut and Fit Sod Around Edges
Your yard likely has curves, sprinkler heads, or other obstacles to work around. This is where a sharp utility knife comes in handy. Use it to carefully trim the sod pieces to fit perfectly around any edges or landscape features. For the cleanest cut, it’s best to slice from the soil side of the sod, not through the grass blades. Taking the time to make these precise cuts is what gives your new lawn a polished, professional finish and ensures it integrates seamlessly with the rest of your landscaping.
Roll and Water Immediately
You’re almost done! Once all the sod is in place, go over the entire lawn with a lawn roller. You can rent one of these along with your sod cutter. Rolling the sod ensures good contact between the roots and the soil underneath, squeezing out any air pockets that could dry out the roots. As soon as you’re finished rolling, it’s time to water. Give your new lawn a deep, thorough soaking. For the next two to six weeks, you’ll need to water it consistently, usually twice a day, until the roots have firmly taken hold.
How to Care for Your New Sod
Laying down fresh sod gives you that incredible instant-lawn feeling, but the work doesn’t stop there. The first few weeks are critical for helping those new roots take hold and grow into a lush, healthy lawn. Think of it as nurturing your investment. Proper care right after installation sets the stage for years of beautiful, green grass. Here’s exactly what you need to do to help your new sod thrive.
Create a Watering Schedule
Water is the single most important ingredient for your new sod. You need to water it within 30 minutes of installation—no exceptions! For the first 7 to 10 days, water daily, making sure the soil underneath is damp. The goal is to keep the roots moist as they establish themselves. After that initial period, you can gradually reduce watering to every other day, then a couple of times a week. A great way to check is to gently lift a corner of the sod; if the soil is damp, you’re on the right track. The University of Florida offers detailed guidelines for watering new lawns in our climate.
Spotting Signs of Trouble
Keep a close watch on your new lawn, as catching problems early makes them much easier to fix. If you see the edges of the sod pieces turning brown or shrinking, it’s likely a sign of underwatering. Yellowing grass can mean too much water, while mushrooms often pop up when the lawn stays too wet overnight. Don’t panic if you see these issues. Adjusting your watering schedule is usually the first step. If gaps appear between the sod strips, you can fill them with a bit of topsoil to encourage them to knit together. A healthy lawn is the best defense against pests and diseases.
Know When and How to Mow
It might be tempting to mow right away, but your new sod needs time to root before its first trim. Generally, you should wait about two to three weeks. A good test is to gently tug on a corner of the sod. If it feels anchored and doesn’t lift easily, it’s ready. For that first mow, set your mower to the highest setting—you only want to trim the top third of the grass blades. Using a lightweight push mower is ideal to avoid putting too much stress on the new roots. A sharp mower blade is essential for a clean cut that helps the grass heal and grow strong.
Plan Your Fertilization
Your new sod comes with some nutrients, but it will need a little help to establish a deep, strong root system. Wait about four to six weeks after installation before applying your first round of fertilizer. Look for a starter fertilizer that is high in phosphorus, which is key for root development. After that initial feeding, you can switch to a regular lawn food program designed for your specific grass type. Following a consistent fertilization plan will keep your lawn dense, green, and resilient against the Central Florida heat. This step is crucial for long-term health and ensures your investment in professional sod installation truly pays off.
Common Sod Installation Mistakes to Avoid
Laying sod can feel like a shortcut to a perfect lawn, but a few common missteps can turn that dream into a patchy, brown reality. It’s heartbreaking to see all that effort and investment go to waste. The good news is that these mistakes are completely avoidable with a little know-how. By understanding the most common pitfalls—from rushing the prep work to getting impatient with aftercare—you can ensure your new grass gets the strong, healthy start it needs to thrive for years to come. Let’s walk through what not to do.
Skipping Soil Prep
Think of your soil as the foundation of your new lawn. You wouldn’t build a house on shaky ground, and the same principle applies here. Simply throwing sod onto hard, compacted, or nutrient-poor dirt is a recipe for failure. Healthy soil is the secret to healthy grass. Before you lay a single piece of sod, you need to give your soil some attention. This means clearing out old grass and weeds, tilling the ground to loosen it up, and adding a layer of nutrient-rich compost or topsoil. Taking the time to prepare your soil properly gives the new roots a welcoming place to grow deep and strong.
Using a Poor Laying Technique
How you lay the sod matters just as much as the prep work. A common mistake is lining up the seams of each sod piece, which creates visible lines and weak spots in your lawn. Instead, you should lay the sod rolls like bricks in a wall, staggering the seams. This helps the pieces knit together seamlessly for a more uniform look. Make sure the edges of the sod pieces are pushed up snugly against each other without overlapping or leaving gaps. Gaps can dry out and die, while overlaps prevent the roots from making contact with the soil. A tight, staggered fit is key to a flawless finish.
Making Watering Errors
Water is life for new sod, and getting it wrong is probably the number one reason installations fail. You can’t just sprinkle it lightly and call it a day. For the first one to two weeks, your new lawn is incredibly thirsty and needs a deep, consistent soaking. This means watering for at least 15 minutes every morning and evening to ensure the moisture penetrates the sod and reaches the soil beneath. This process encourages the roots to grow downward. Underwatering will cause the sod to dry out and die, while inconsistent watering leads to shallow roots. Creating a strict watering plan for the first month is the most important job you have.
Walking on It Too Soon
I know it’s tempting to walk on your beautiful new lawn, but you have to resist the urge. Your new sod is very delicate for the first few weeks. The main goal during this time is for the roots to anchor themselves into the soil below. Walking, running, or letting your pets play on the sod can dislodge the pieces and prevent the roots from establishing a firm grip. This can create uneven spots and damage the fragile new grass blades. As a general rule, you should stay off your new sod for at least four weeks. This patience allows the roots to grow strong, creating a durable and resilient lawn for the future.
Prefer Professional Installation?
While DIY sod installation is possible, hiring professionals ensures proper soil preparation, correct grading, and a warranty on your investment. Learn about our sod installation services or call (386) 675-2303 for a free estimate.
Related Articles
- Sod Installation Lake Mary, FL | 10% Veteran Discount
- Sprinkler System Installation: A Step-by-Step Guide
Frequently Asked Questions
What’s the best time of year to install sod in Central Florida? We’re lucky here in Florida because you can successfully lay sod almost any time of year. That said, the ideal time is during the active growing season from spring through early fall. The warm weather and consistent rain help the new roots establish much more quickly. You can still install sod in the cooler months, but be prepared for the rooting process to take a bit longer since the grass will be dormant.
How can I tell when my new sod is fully rooted and established? The best way to know for sure is to do a gentle “tug test.” After about two or three weeks, try to lift a corner of one of the sod pieces. If you feel solid resistance, it means the roots are successfully growing into the soil below. Your lawn is generally considered fully established once the seams between the pieces have disappeared and the grass can handle normal foot traffic, which usually takes about six weeks.
My old lawn is mostly dead. Can I just lay the new sod on top of it? It’s a tempting shortcut, but you really need to remove the old lawn first. Laying new sod directly over old grass prevents the new roots from making good contact with the soil, which they need for water and nutrients. The old, dead layer can also create drainage issues and harbor diseases. Taking the time to completely clear the area and prepare the soil gives your investment the best possible foundation for long-term health.
I’m seeing mushrooms pop up in my new lawn. Should I be worried? Don’t worry! Seeing a few mushrooms is completely normal with new sod and doesn’t mean there’s anything wrong with the grass. Mushrooms thrive in the exact conditions your new lawn needs: consistent moisture and rich organic matter. It’s just a sign that you’re watering correctly. You can simply pull them or knock them over, and they will usually disappear on their own as you begin to water less frequently.
How much should I expect to pay for professional sod installation? The cost of a sod project depends on a few key things. The final price is influenced by the total square footage of your yard, the specific type of grass you select, and the amount of prep work your property requires. A yard that needs significant clearing and soil improvement will naturally have a different price point than one that is already a blank slate. The most accurate way to understand the cost for your space is to get a detailed quote.