
Landscape Design Ideas Drawing: A Beginner’s Guide
A successful landscape project rarely begins with a shovel; it begins with a pencil. Creating a plan is the most effective way to organize your thoughts, prevent common mistakes, and ensure the final result is both beautiful and functional. Your landscape design ideas drawing serves as a roadmap, guiding every decision from plant placement to patio size. It helps you see how your yard will flow and function before committing time and resources. In this article, we’ll cover everything you need to get started. You’ll learn how to analyze your property, sketch a base plan, and layer in details like plants and hardscaping features, turning a blank page into a clear vision.
Key Takeaways
- Start with a Solid Plan: Before you begin sketching, create an accurate, to-scale base map of your property. This foundation is essential for applying core design principles like balance and proportion, ensuring every element fits harmoniously.
- Layer Your Ideas Systematically: Use tracing paper over your base map to move from simple bubble diagrams to detailed layouts. This step-by-step method lets you experiment with flow and placement before committing to specific plants and hardscape features.
- Design for Long-Term Success: A practical plan considers future growth and maintenance. Research the mature size of plants to prevent overcrowding, choose species suited to your yard’s unique conditions, and incorporate sustainable elements for a healthier landscape.
Your Landscape Design Drawing Toolkit
Before you can bring your dream landscape to life, you need to get your ideas onto paper. A visual plan is the first step toward a beautiful, functional outdoor space, and you don’t need a professional studio to get started. A few key tools can help you sketch and refine your vision, whether you prefer the classic feel of a pencil or the clean lines of digital software. Having the right equipment makes the process smoother, allowing you to accurately map your property and create a clear blueprint for your project.
Traditional Drawing Tools
Traditional drawing tools are perfect for quick brainstorming. Start with the basics: a mechanical pencil, a quality eraser, and fine-liner pens. Using varied line weights is a simple trick to make elements like trees or a patio stand out. For accuracy, use a measuring tape for your yard’s dimensions and an architect’s scale ruler to translate them to paper. A T-square and triangles will help you draw crisp, straight lines and perfect angles, giving your sketch a clean, professional look.
Digital Design Software
If you’re more comfortable on a screen, digital design software is a powerful way to visualize your landscape. These programs create precise, easily editable plans where you can move a tree or resize a patio with just a few clicks. Many also offer 3D rendering, which gives you a realistic preview of your design. If you’re just starting, look for free or low-commitment landscape design software to experiment with before you decide on a more advanced option. It’s a great way to play with ideas and see what’s possible for your property.
Paper and Drawing Surfaces
The surface you draw on can make a big difference. While any paper works for a quick sketch, a few types are ideal for landscape design. Graph paper is a great starting point because the grid makes it easy to draw to scale. For developing ideas, tracing paper is a designer’s best friend. You can lay it over your base plan to sketch different arrangements without altering your original drawing. Once your concept is more finalized, transferring it to vellum is a good next step. Using the right kind of paper results in a clear, legible design.
What Are the Core Principles of Landscape Design?
Before you put pencil to paper, it helps to understand a few key ideas that guide every great landscape design. These principles are the secret ingredients that turn a simple yard into a stunning and cohesive outdoor living space. Think of them as your creative roadmap for making sure every element, from the tallest tree to the smallest flower, works together in harmony.
Achieve Balance and Proportion
At its heart, landscape design is about creating visual balance. This principle ensures your garden feels stable and unified, not chaotic. You can achieve this in two ways: symmetrically, where one side of the garden mirrors the other for a formal look, or asymmetrically, where different elements have equal visual weight for a more natural, relaxed feel. For example, a large shade tree on one side could be balanced by a cluster of ornamental shrubs and a decorative boulder on the other. Proportion is just as important; it’s about making sure the size of each object relates well to the elements around it. Proper tree planting and placement are key to getting this right from the start.
Create Unity and Flow
Unity is what makes your landscape feel like a single, complete picture rather than a random collection of plants and features. The easiest way to create unity is through repetition. You might use similar plants, materials, or colors throughout the space to tie everything together. For instance, repeating the same type of stone in your garden path and a retaining wall creates a seamless connection. This repetition helps create a natural flow, guiding the eye smoothly from one part of your yard to another. It’s this sense of connection that makes a space feel intentional, organized, and incredibly inviting.
Use Scale and Perspective
Scale refers to the size of elements in your landscape relative to your home and the people who will enjoy the space. A massive fountain might look incredible at a public park, but it could easily overwhelm a small backyard. The goal is to choose features that fit comfortably within the area, making the garden feel inviting and peaceful. You can also play with perspective to make your yard feel larger. Placing plants with large, bold leaves in the foreground and plants with finer textures and cooler colors in the background creates an illusion of depth. Mastering scale is a huge part of a successful landscape design.
What Landscape Style Will You Draw?
Before you put pencil to paper, it’s helpful to think about the overall vibe you want for your outdoor space. Choosing a landscape style gives your drawing a clear direction and ensures all the elements, from plants to pathways, work together harmoniously. Think of it as picking a theme for a room before you start buying furniture. Do you envision a sleek, modern oasis for entertaining, or a cozy, flower-filled retreat for quiet afternoons? Your personal taste and how you plan to use the yard will guide your decision.
Many people find they don’t fit perfectly into one category. You might love a modern look but want to soften it with a few traditional touches, or you might want a formal layout with moments of natural, untamed beauty. That’s perfectly fine! These styles are just starting points to inspire your landscape design. As you explore different options, consider Florida’s unique climate and what will thrive in your specific location. The goal is to create a design that feels authentic to you and complements your home’s architecture. Let’s look at a few popular styles to get your creative ideas flowing.
Modern Minimalist Landscapes
A modern minimalist landscape is all about clean lines, geometric shapes, and a “less is more” philosophy. This style uses a simple color palette and focuses on the texture and form of each element. Think sleek concrete patios, strategically placed ornamental grasses, and simple, elegant planters. It’s not about being empty or cold; it’s about making every feature count. This approach often incorporates beautiful hardscaping services like stone pathways or simple retaining walls to create structure and visual interest without clutter. It’s a perfect choice if you crave an organized, sophisticated, and low-maintenance outdoor living area.
Cottage Garden Designs
If you dream of a charming, romantic, and slightly wild-looking yard, the cottage garden style is for you. This design embraces a joyful abundance of plants, with flowers, herbs, and even vegetables growing together in dense, informal beds. Forget rigid, straight lines; cottage gardens feature curving pathways and a relaxed, lived-in feel. The goal is to create a lush and inviting space that feels like a personal sanctuary. Using plenty of mulching and decorative ground cover helps keep the weeds down while allowing your beautiful, overflowing flowerbeds to be the star of the show.
Tropical and Mediterranean Themes
Living in Central Florida gives you the perfect opportunity to create a lush, tropical paradise right in your backyard. This style is defined by vibrant colors, bold foliage, and a vacation-like atmosphere. Imagine large-leafed plants, exotic flowers, and the gentle rustle of palm trees. You can use a thoughtful tree planting strategy to add height and shade, creating a layered, jungle-like effect. This theme is all about transporting you to a warm, sunny escape every time you step outside, making your yard the ultimate spot for relaxation and entertaining.
Desert and Drought-Resistant Landscapes
For a beautiful and water-wise option, consider a drought-resistant or xeriscape design. This style is both practical and stunning, using native Florida plants that are naturally adapted to the climate and require less water to thrive. Instead of a vast lawn, you might use gravel, stones, or other types of decorative ground cover as a backdrop for striking succulents, ornamental grasses, and hardy perennials. This approach not only conserves water but also creates a unique, textured landscape that stands out for its resilience and architectural beauty. It’s a smart, sustainable choice for the modern Florida homeowner.
Formal Garden Layouts
Inspired by classic European estates, the formal garden style is all about order, symmetry, and elegance. This design uses geometric shapes, straight lines, and carefully planned patterns to create a sense of balance and control. You’ll often see manicured hedges, defined pathways, and symmetrical planting beds. A skilled retaining wall contractor can help create the tiered garden beds and crisp edges that are hallmarks of this style. If you appreciate a timeless, structured look and enjoy the serene beauty of a perfectly organized space, a formal garden layout could be the ideal choice for your landscape drawing.
How to Draw Your Landscape Design, Step by Step
Ready to put your vision on paper? Drawing your landscape design doesn’t require an art degree, just a clear process and a little creativity. Think of it as creating a roadmap for your future outdoor space. This plan will be your guide, helping you visualize how different elements work together before you commit to a single plant or paver. By breaking it down into simple, manageable stages, you can move from a rough idea to a detailed drawing that clearly communicates your goals.
The process starts with understanding your canvas: your property. From there, you’ll brainstorm the general layout, refine it with specific features, and finally, add the artistic touches that make the drawing clear and compelling. Each step builds on the last, transforming a blank page into a blueprint for your dream yard. Whether you’re planning a simple garden refresh or a complete overhaul, a well-drawn plan is the key to a successful project. It helps you organize your thoughts, experiment with ideas, and create a cohesive design that you’ll love for years to come.
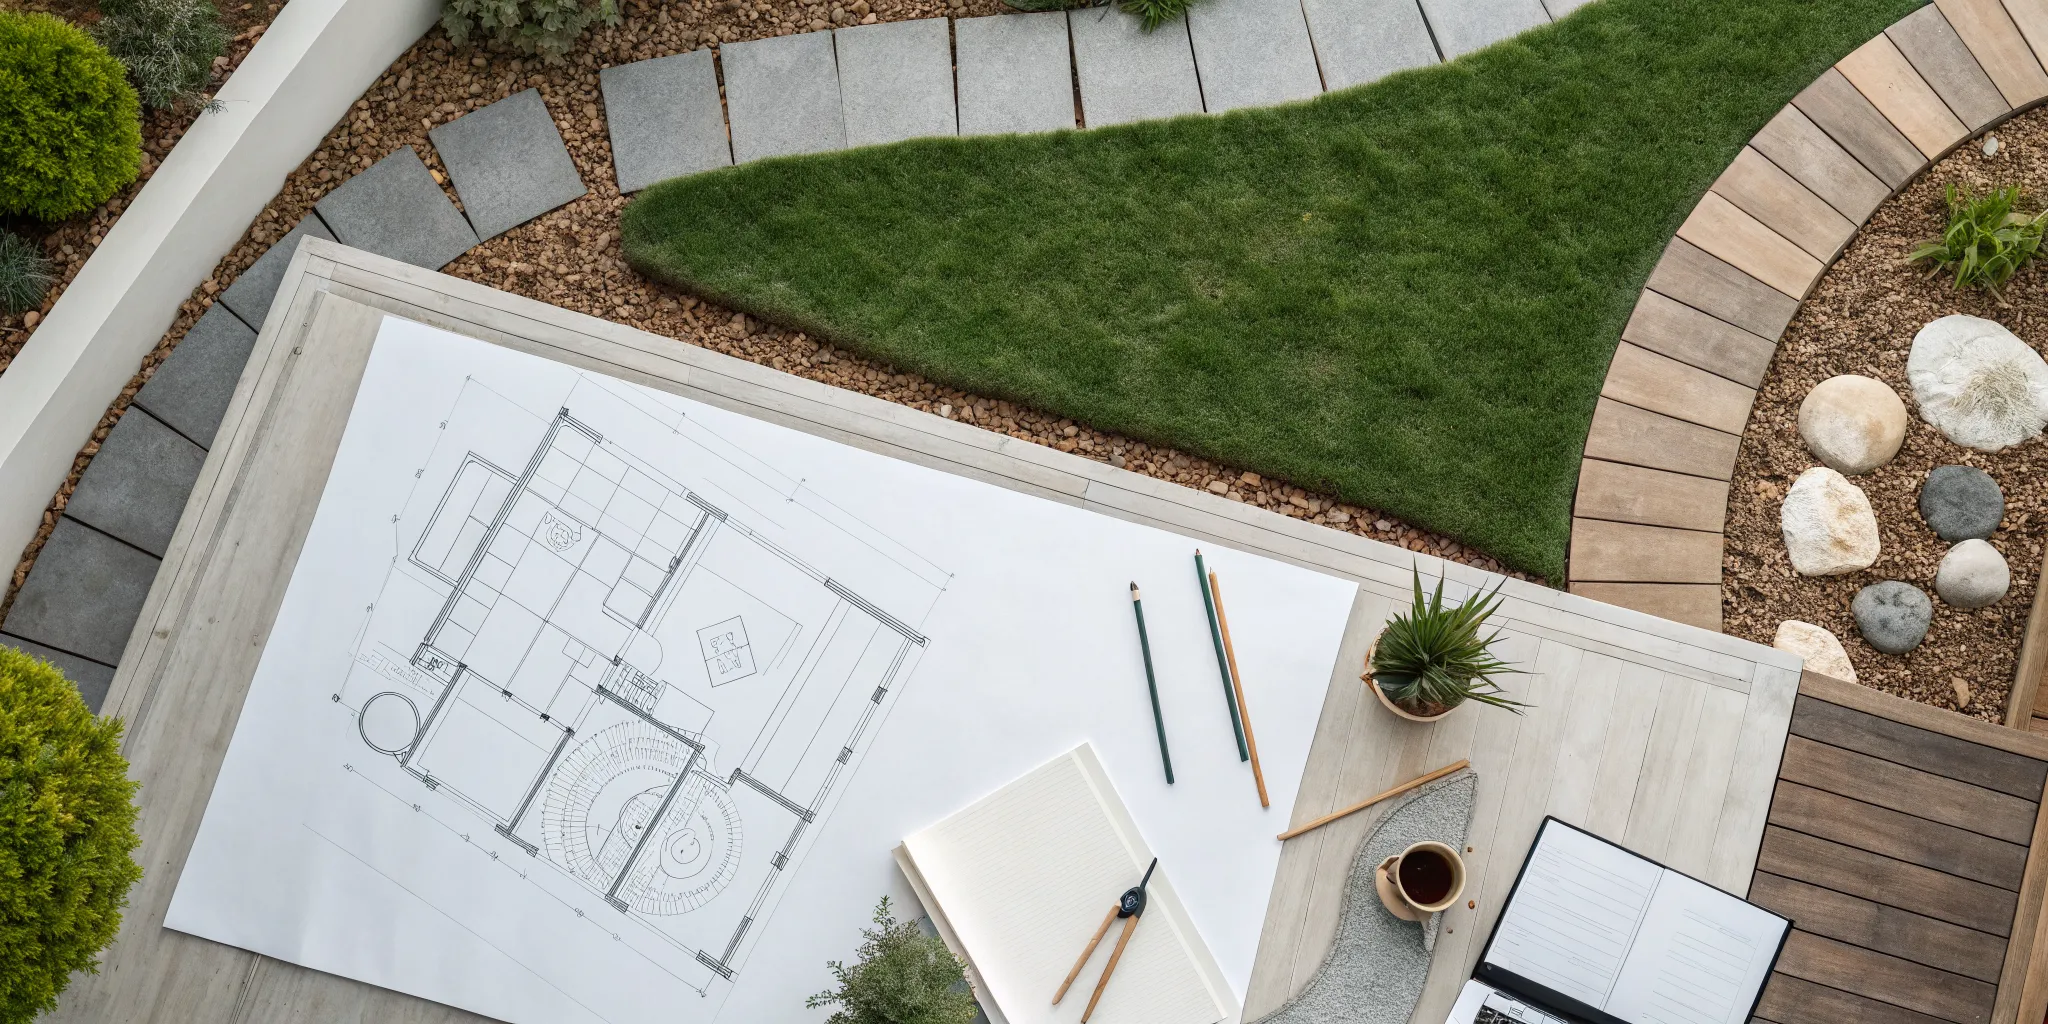
Analyze Your Site and Create a Base Plan
Every great design starts with a solid foundation. In this case, that foundation is your base plan, an accurate, to-scale drawing of your property as it is right now. Grab a measuring tape, a notepad, and some graph paper. Measure your property lines, the footprint of your house, and the locations of driveways, walkways, and patios. Don’t forget to mark windows, doors, faucets, and utility boxes.
Note any existing features you plan to keep, like mature trees or sheds. It’s also helpful to observe how sunlight moves across your yard throughout the day and identify any sloped areas. If you have large, established trees, consulting with professional arborist services can help you assess their health and decide how to incorporate them into your new design.
Start with Basic Shapes and Symbols
Now for the fun part: brainstorming. Lay a piece of tracing paper over your base plan. This is where you can experiment freely without messing up your original drawing. Using a pencil, start sketching out the general areas of your new landscape with simple shapes, often called a “bubble diagram.”
Use circles, ovals, and other basic forms to represent different zones. A large circle could be your new patio, a long rectangle could be a vegetable garden, and organic, cloud-like shapes can represent planting beds. Don’t worry about specific plants or materials yet. The goal here is to figure out the best layout and flow for your space, focusing on how you want to move through and use your yard.
Add Plants, Trees, and Hardscape Features
With your basic layout decided, it’s time to fill in the details. On a new sheet of tracing paper, begin refining your bubbles into more defined shapes. That circular patio can now be drawn with the exact pavers you envision, and the cloud-like planting beds can be filled with symbols for specific shrubs, perennials, and groundcovers.
Develop a simple key for your symbols: a spiky circle for an agave, a soft, scalloped circle for a hydrangea. This is also where you’ll finalize the design of your non-plant elements. Whether you’re planning a winding garden path or a new deck, our hardscaping services can help bring those ideas to life. When adding trees, remember to draw them at their mature size to ensure they won’t overcrowd the space later on.
Use Line Variation and Rendering Techniques
To make your drawing clear and professional, use different line weights to create visual hierarchy. This simple technique adds depth and makes your plan much easier to read. Use a thick, bold line for the most important structural elements, like your house outline and property boundaries.
Use a medium-weight line for hardscaping features like patios, retaining walls, and walkways, as well as for the trunks of trees. Finally, use thin, light lines for the finer details, like individual plants, lawn edging, and texture patterns. This variation helps distinguish different components at a glance and guides the eye through the design, highlighting the key features of your plan.
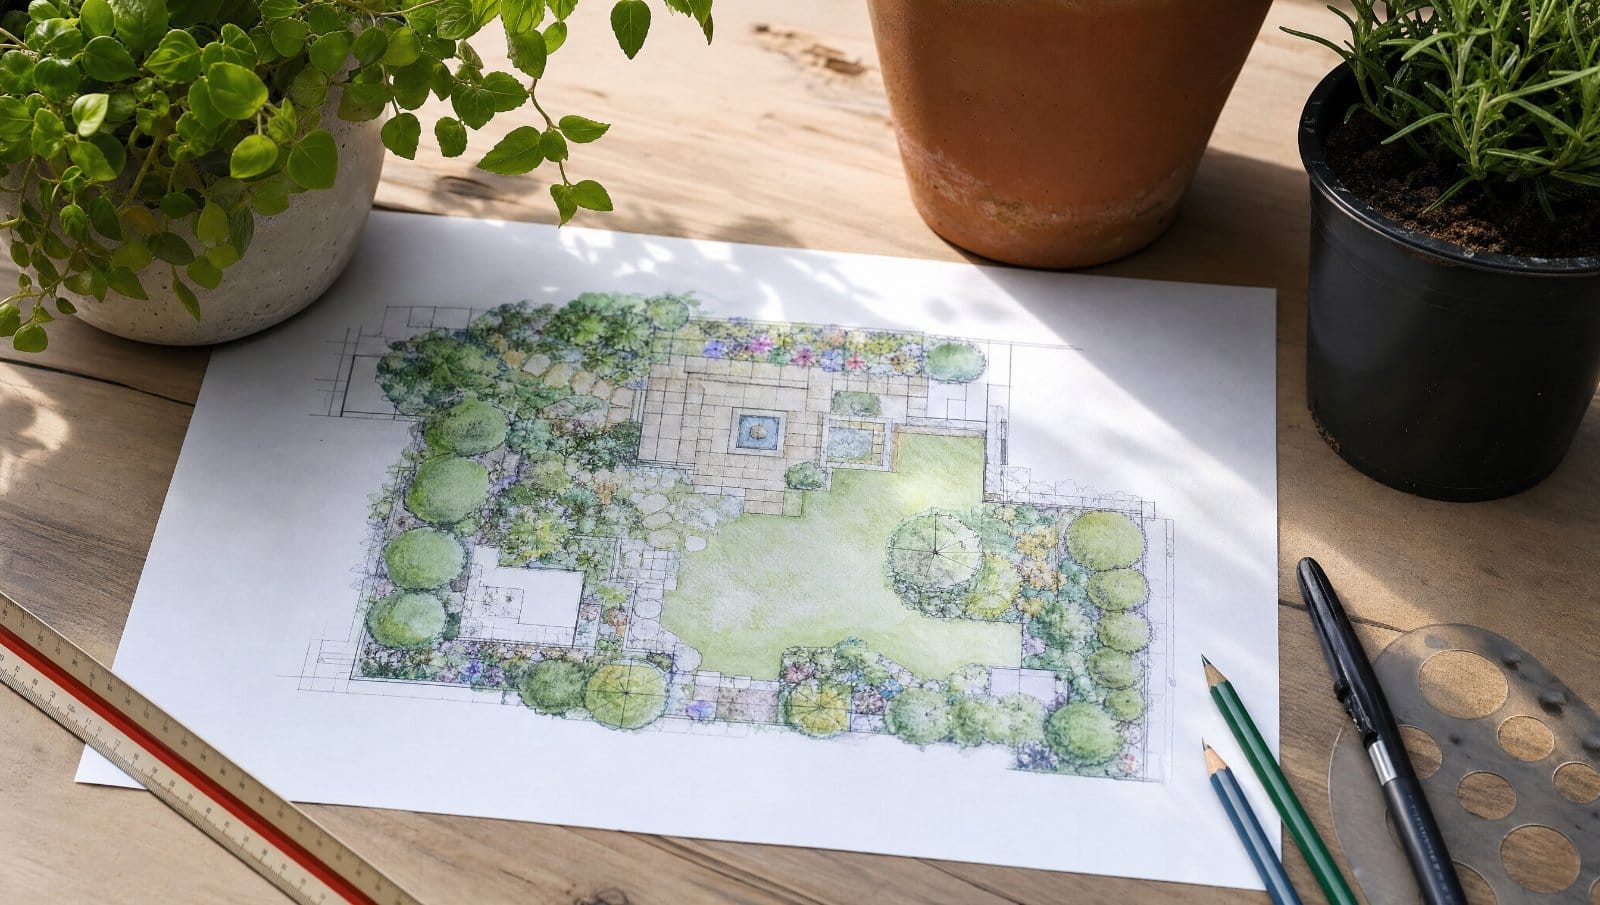
Apply Shading, Texture, and Color
This is where your design truly comes alive. Adding color, shading, and texture is the final step in creating a drawing that clearly communicates your vision. Use colored pencils or markers to differentiate between materials. For example, you can use green for lawn areas, brown or black for mulching, and gray for stone or concrete.
You can also add texture with simple drawing techniques. A series of parallel lines can represent a wooden deck, while small, irregular circles (stippling) can indicate a gravel path. Shading beneath trees and pergolas can show where shadows will fall, giving your two-dimensional plan a sense of three-dimensional space. This final layer of detail makes the design more compelling and helps you visualize the finished landscape.
How to Draw Sustainable Elements in Your Design
Creating a sustainable landscape means designing a space that works with the local environment, not against it. This approach results in a beautiful yard that is easier to care for, supports local wildlife, and handles Florida’s unique climate gracefully. When you’re sketching your design, thinking about sustainability from the start will help you make smart, effective choices. Instead of just drawing pretty plants, you’ll be mapping out a healthy ecosystem.
A sustainable design focuses on elements like native plants that thrive in our soil, clever water management features like rain gardens, and materials that reduce environmental impact. These choices save water, help local nature, and make your garden a more resilient and enjoyable space. By incorporating these ideas into your initial drawings, you set the foundation for a landscape that is both stunning and responsible.
Represent Native Plants
Choosing native plants is one of the best things you can do for your landscape and the local environment. These are plants that have adapted over thousands of years to Florida’s climate, soil, and wildlife. In your drawing, you can represent them with distinct symbols. For example, use a spiky, star-like shape for saw palmettos, soft, circular clusters for firebush, and wispy, arching lines for muhly grass. Researching plants native to Central Florida will give you a great palette to work with. When you’re ready to bring your drawing to life, professional tree planting can ensure these native species get the best possible start in your yard.
Sketch Rain Gardens and Water Features
Florida gets a lot of rain, and a rain garden is a fantastic way to manage it. A rain garden is a shallow, depressed area in your landscape planted with water-loving native plants. It’s designed to collect rainwater runoff from your roof or driveway, allowing it to slowly soak into the ground. To draw one, sketch a gentle basin shape and use wavy lines to indicate where water will pool. Add symbols for plants that thrive in wet conditions, like canna lilies or swamp hibiscus. This feature not only prevents erosion and filters pollutants but also works beautifully alongside professional drainage solutions to keep your property dry and healthy.
Draw Permeable Surfaces and Eco-Friendly Materials
Permeable surfaces are materials that allow water to pass through them into the soil, which reduces runoff and replenishes groundwater. Think gravel pathways, spaced pavers with grass or groundcover in between, or porous concrete. When sketching these features, use texture to show the material. For a gravel path, use small, dense stippling. For spaced pavers, draw the individual stones with gaps. You can also incorporate eco-friendly materials for patios and walkways. Using a layer of mulch in your garden beds is another simple, sustainable choice that helps retain soil moisture and reduce weeds, giving you a beautiful yard that doesn’t require constant work.
Common Drawing Mistakes to Avoid
As you bring your landscape ideas to life on paper, it’s easy to get caught up in the creative flow. But a few common missteps can turn a promising sketch into a frustrating plan. Don’t worry, we’ve all been there! Knowing what to look out for is the first step to creating a design that’s not only beautiful but also practical and sustainable. Let’s walk through some of the most frequent drawing mistakes so you can sidestep them from the start.
Errors in Scale and Proportion
It’s tempting to just start sketching, but one of the biggest mistakes is designing without a master plan. This often leads to issues with scale and proportion, where a patio looks too small for its furniture or a walkway feels cramped. Before you draw a single flower, measure your space and create a base map to scale. This ensures every element, from a large shade tree to a small garden bed, fits together harmoniously. A well-proportioned design feels balanced and intentional, creating a more inviting outdoor space. Thinking through the entire landscape design from the beginning saves you from major headaches later on.
Overcrowding Your Design
That empty spot in your drawing might seem like the perfect place for another plant, but resist the urge to fill every inch of paper. Overcrowding is a classic beginner mistake. When you’re at the nursery, it’s easy to forget that those small shrubs and trees will grow, sometimes a lot. Squeezing too many plants together forces them to compete for sunlight, water, and nutrients, which can lead to poor health and a messy look. Always research the mature size of each plant and give them the room they need to flourish. Proper tree planting considers future growth, ensuring a healthy, uncluttered landscape for years to come.
Poor Plant Placement
A beautiful plant in the wrong spot is a recipe for disappointment. Every plant has specific needs, and your design must account for them. A sun-loving rose will struggle in a shady corner, while a moisture-loving fern won’t survive in a dry, sunny patch. Before you place a plant in your drawing, consider your yard’s unique conditions. Map out areas of full sun, partial shade, and deep shade. Pay attention to your soil type and how water moves across your property. If you have areas with standing water, you may need to consult with landscape drainage contractors to fix the issue before you start planting.
Forgetting Site Prep and Maintenance
Your drawing is a blueprint for the future, but it can’t become a reality without preparing the canvas: your yard. A common oversight is failing to plan for the necessary site preparation. This includes clearing out old weeds, removing unwanted trees or stumps, and grading the land for proper drainage. Factoring these steps into your plan from the start is crucial for success. For larger projects, this might involve professional land clearing to create a clean slate. Also, think about long-term upkeep. A design that looks stunning on paper might require more maintenance than you’re willing to do, so be realistic about your lifestyle.
Turning Your Drawing into a Reality
You’ve put your ideas on paper, and now you have a visual guide for your dream landscape. This is where the excitement really begins. Transforming that sketch from a two-dimensional drawing into a living, breathing outdoor space is a process of refinement and collaboration. It involves polishing your plan to make sure it’s practical and then finding the right team to bring it to life. Taking these next steps carefully ensures your final landscape not only matches your vision but also thrives for years to come.
Refine Your Sketch into a Final Plan
Before you start digging, take some time to polish your initial drawing into a more detailed plan. This doesn’t mean you need to be a professional artist. Start by clarifying your initial concepts. Use simple shapes, like circles for trees and shrubs, to keep the layout clear and easy to understand. Think about using different line thicknesses to add depth and highlight key features, like a winding stone path or a central patio. This refined sketch acts as your final blueprint, helping you confirm that every element is exactly where you want it before any installation begins. It’s the last creative step before the hands-on work starts.
Partner with a Professional Landscaper
Bringing a landscape design to life requires more than just a good drawing; it demands expertise in horticulture, construction, and design. A professional team can help you avoid common pitfalls, like placing sun-loving plants in a shady spot or forgetting to account for a tree’s mature size. They understand how to balance beautiful aesthetics with realistic long-term care. By working with experts in landscape design and installation, you can ensure your plan considers crucial factors like soil health, proper drainage, and how you’ll move through the space. This collaboration is key to creating a cohesive, functional, and sustainable outdoor environment that truly reflects your vision.
Related Articles
Frequently Asked Questions
What if I’m not good at drawing? Can I still create a useful landscape plan? Absolutely. Your landscape drawing doesn’t need to be a work of art. Think of it as a communication tool, not a masterpiece. The goal is to map out your ideas using simple shapes and symbols to figure out the layout and flow of your space. A clear, well-measured plan, even if it’s just circles and squares, is incredibly valuable for visualizing your project and sharing your vision with a professional landscape team.
Why is it so important to draw plants at their mature size? Drawing plants at their future size is one of the most important steps for creating a successful, long-lasting garden. A small shrub from the nursery can easily triple in size, and if you don’t plan for that growth, your landscape can quickly become overcrowded. This leads to plants competing for resources, poor air circulation, and a messy appearance. Planning for mature size ensures your garden has room to flourish and will look just as beautiful in five years as it does on day one.
Do I have to stick to just one landscape style? Not at all. The styles we discussed are meant to be starting points for inspiration, not strict rules. The most personal and interesting landscapes often blend elements from different styles. You might love the clean lines of a modern patio but want to soften the edges with the lush, informal plantings of a cottage garden. Feel free to mix and match to create a design that reflects your personality and complements your home’s unique character.
What’s the single most important first step in drawing my landscape? The most critical first step is creating your base plan. This is an accurate, to-scale drawing of your property as it currently exists, including your house, driveway, existing trees, and property lines. Without this foundational map, everything else is just guesswork. Taking the time to measure and draw your site correctly ensures that all the new elements you design will be proportional and will fit properly in the space.
My drawing is done. What’s the best way to make sure it becomes a reality? Having a drawing is a fantastic accomplishment and the perfect starting point. The next step is to partner with a professional team. An experienced landscape contractor can review your plan, offer expert advice on plant selection and materials suited for the Florida climate, and identify any potential challenges, like drainage issues. They have the skills and equipment to handle the complex work of site preparation, hardscape installation, and planting, ensuring your vision is brought to life correctly and beautifully.